Already a few years ago I've built my first campus board. I wanted to create some training possibilities for me and my friends when I stayed at my mothers house, because the next climbing gym is over an hour away by car. It was a great process in which I've learned a lot about board angle, rung size and shape.
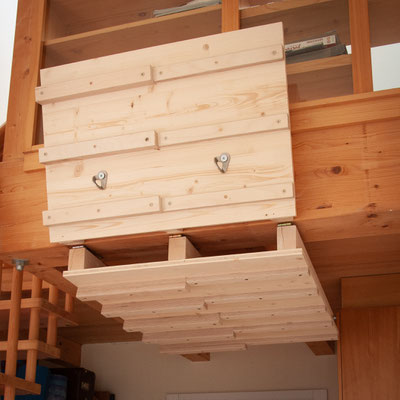
There was no perfect location in our house, that's why I had to save space by making it foldable. There was a wooden beam in the middle of a room which acted as a solid base for the board. I've decided on a 15° angle, 8 rungs and two sizes next to each other. One was supposed to work as a jug for basic pulling strength exercises, the other one was a one finger pad edge for finger and contact strength exercises. The standard width of the rungs seems to be 40cm, the spacing from one rung to the next 22cm. In our local gym we have boards in-between 10° and 20° angles. While 10° seems to little - you bump into the rungs with your hips while moving upwards - everything from 15° up seems to work fine.
My biggest mistake in the beginning was to make the jug and finger rung to sharp. I highly recommend a radius of 7mm on the finger rungs now and much bigger one on the jug holds. It can even be a couple of centimeters to make it skin friendly. Besides that I've designed the rungs to be horizontal on the contact surface. Simply cut the angle of the board, whether you have chosen the 15° or 20° with the circular saw onto the backside of the rungs as well. Otherwise the rungs will be "slopy".
As a material for the rungs I've used high quality birch plywood. The different layers and fiber directions give you perfect friction. For the board itself I recommend 3 layered spruce "Stia" boards. They are reasonable priced, nice to look at and very stable.
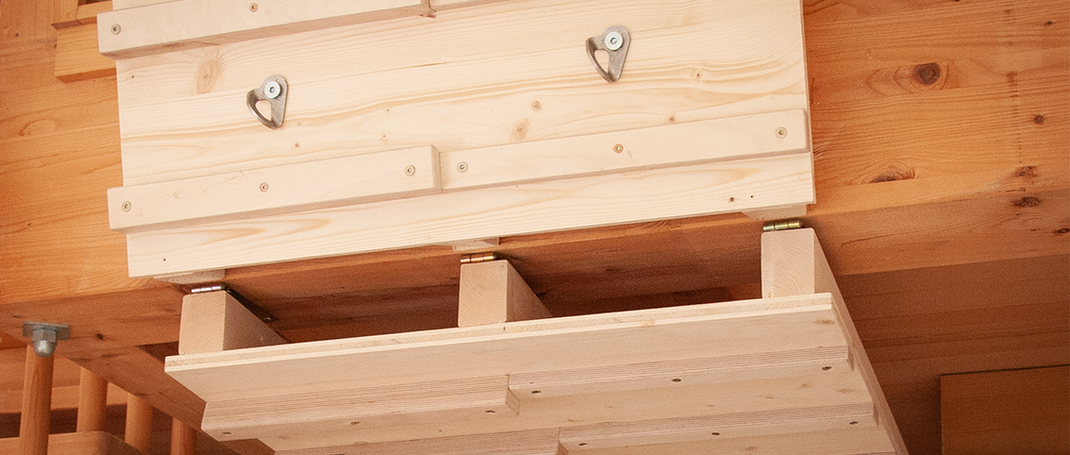
The mechanism to secure the hinge was very simple as well. At the bottom of the board I've used a threaded bar and wing nuts to fasten a wooden bar. The same system is being used in the roof to keep the board in place even when you campus up the front. After the session simply remove the bar with the two slots that slide onto the threaded bar and fix the board in the roof with a carabiner.
My recommendation: Make the rungs comfortable. You interact with the board through the rungs. If they are comfortable you will have a lot of fun training.
Stay tuned for more posts on other campus board builds as well as training guidelines.
Have fun building your board,
Your Fingerschinder


Write a comment